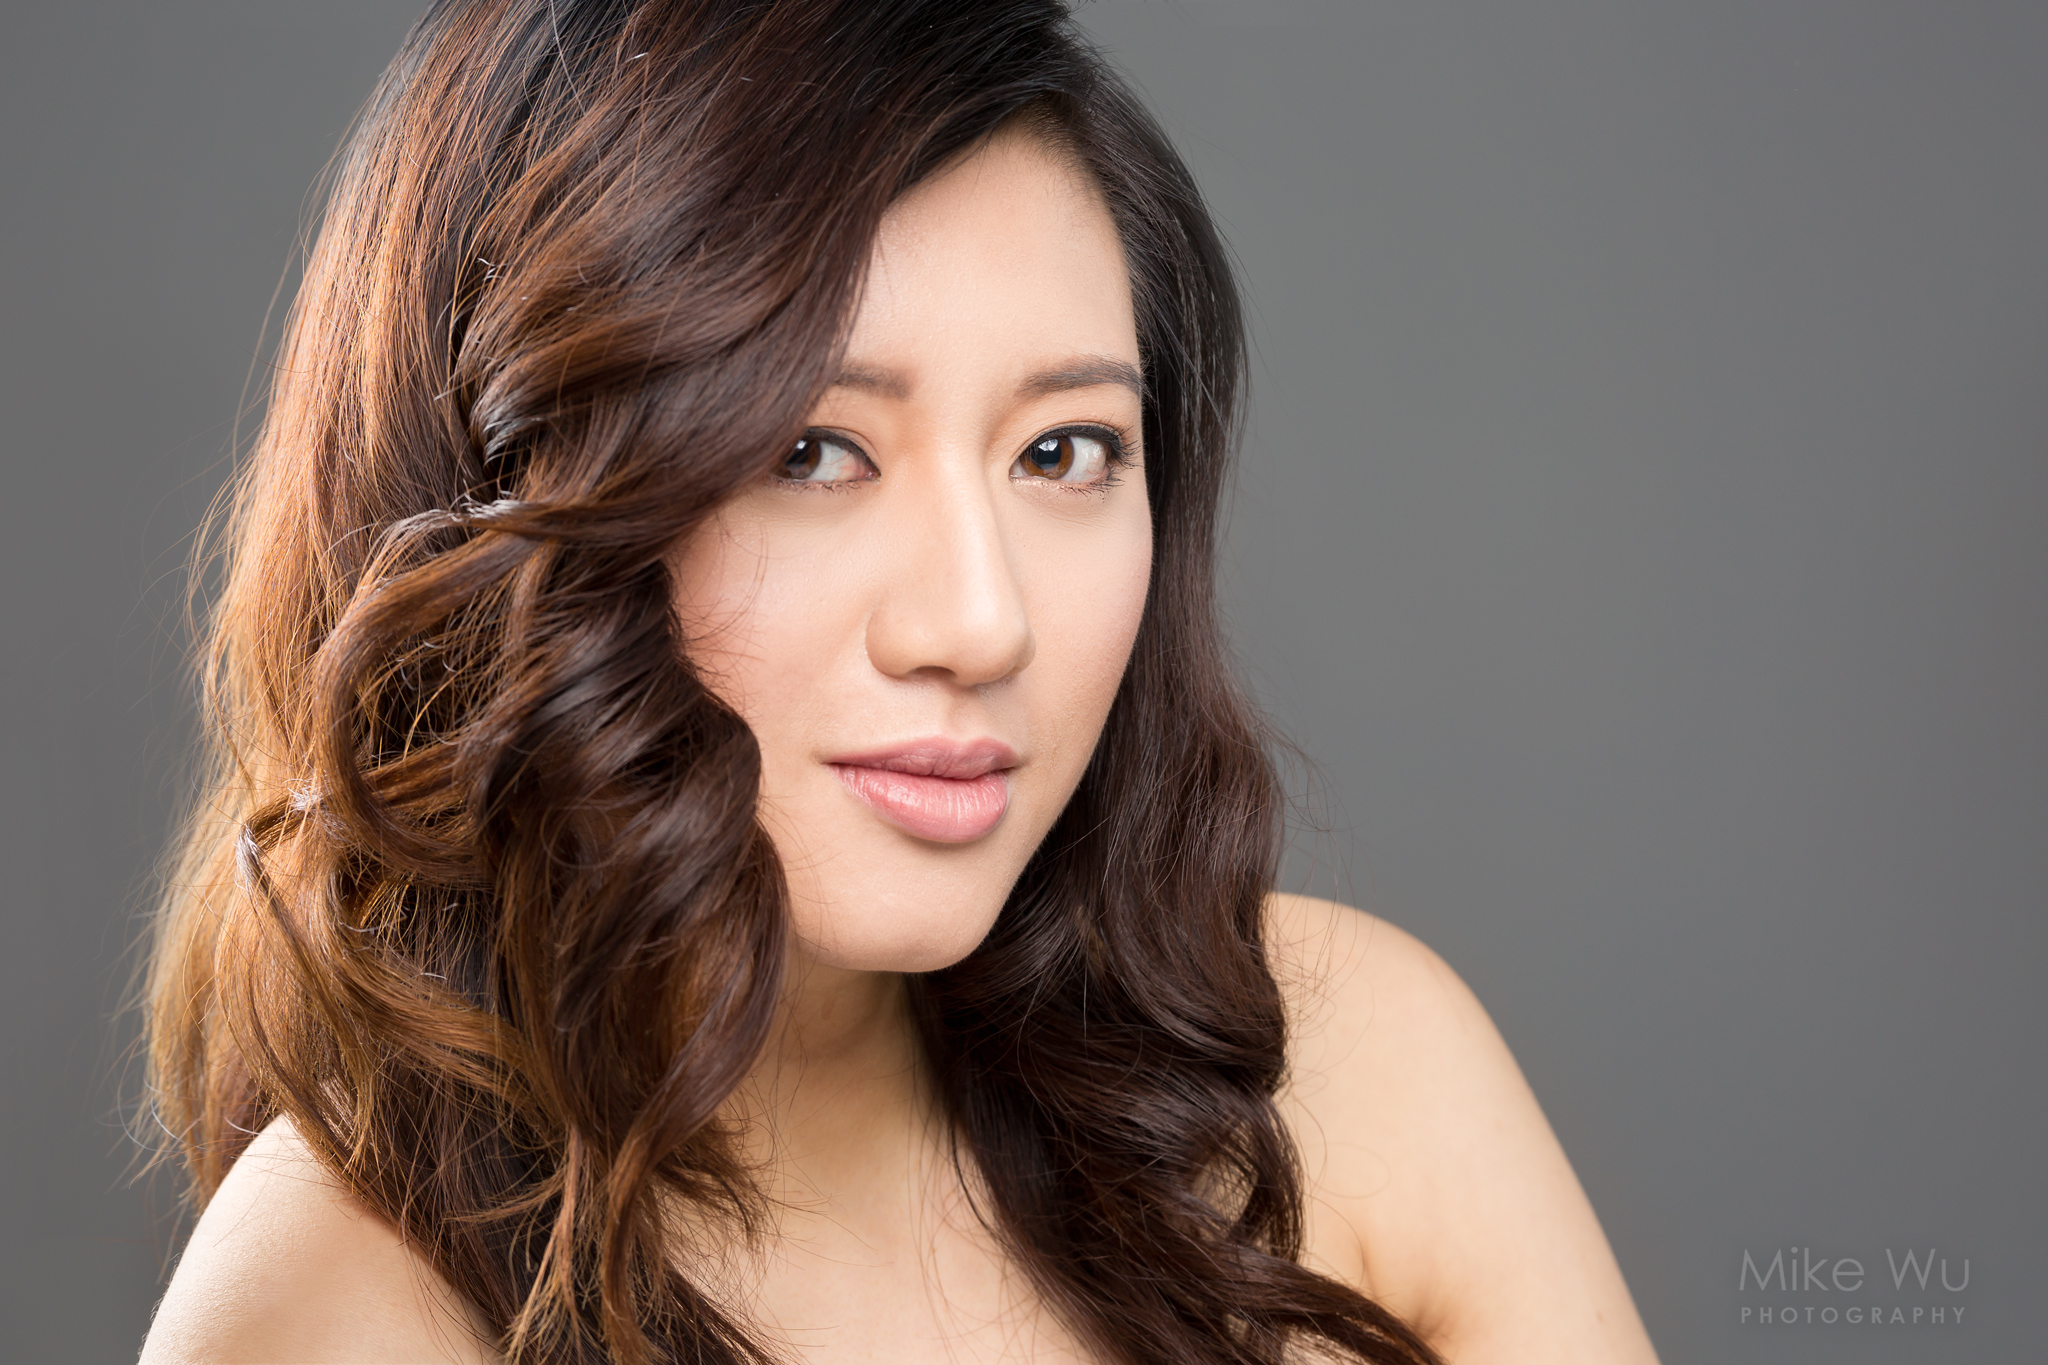
The following article describes the lighting setup that I used for some beauty portraits of Christine. Christine (model) and Win Wachirawin (makeup and hair) were wonderful to work with and their talents really show in the results. While there are many possible lighting setups for beauty photos, I’ll go over how I set things up for this shoot and the rationale.
 Fashion photo.
I used a full frame DSLR camera with a 70-200mm lens, but just about any camera can be used for this type of work. Different people have different preferences for portrait lens so it depends on how you like to shoot. When picking a good focal length to use, be aware of lens compression. Since these are close-ups, I would recommend keeping above a focal length of 70mm to avoid distortion to facial features.
Equipment
- Full frame DSLR camera with 70-200mm Lens
- 3 Modifiers: Octobox (80cm), Reflector (110cm, white), Stripbox (20x90cm) with grid
- 3 Lightstands
- 3 Flash units, wireless triggers, and a whole bunch of AA batteries to power everything!
Lighting Diagram
There are many variations to setting up lighting for portraits. The basic setup I used is called clamshell lighting. My primary light source is an 80cm octobox, placed high in front of the model and pointed downwards at about 45 degrees. This gives me plenty of diffused light. I placed a white reflector in front of the model, just below and angled upwards toward the model’s face. The reflector bounced light from the octobox to Christine’s face to fill the shadows. In some sense, the octobox and reflector form a clamshell, or Pac-Man.

If you look at the diagram above, you might be wondering if the modifiers obstruct the view of the model. I left a gap between the octobox and reflector and positioned my camera there. If feels a bit cramped for the photographer when shooting with this setup, it means you’re doing it right 🙂 I shot at about eye level.
This is a very popular lighting setup for beauty and glamour photography and is pretty much all you need to get some great shots. Clamshell lighting is a subset of butterfly lighting. When setting up this type of lighting, I tend to put the primary light very, very close to the model — like a meter away or thereabouts. This helps to brightens the shadows.

Any light modifier can be used; it depends on your preference. For example, a beauty dish can be used in place of an octobox. As well, the reflector can be replaced by another light source. But the essential element is light on the model coming from in front of the model, from above and below.
The light from above is typically a bit stronger than the one from below. If you’re using a second light below instead of a reflector, you can output at the same power or slightly less. Just take care that the lower light is not stronger than the upper as that can create some funny shadows on the face, kind of like the look when sitting in front of a campfire.

Christine had some really beautiful hair curls that I wanted to highlight in the photo so I added a light behind her to camera left or right depending on which way her hair was directed. This light was modified by a 20x90cm stripbox with grid, which was pointed at her hair. As well, in some cases I used a third light, placed behind Christine and to the opposite side of my second light. This was a flash unit pointed upwards on a lightstand and diffused with some packing foam (about 5mm thick, folded to about the size of a sheet of paper and strapped on the flash unit with an elastic band). I just wanted to highlight a bit of her side. These two lights are really optional but I liked that they added some highlights to her skin and hair.

I personally like the catchlights in the eyes as this setup helps to bring attention to them. Hopefully, my description gives a bit of insight into my setup and that it’ll be of some help if you’re just starting out in the studio photography.

Processing
By the way, if you’re interested if my presets for Lightroom and Photoshop, you can check them out here.


8 thoughts on “A Lighting Setup for Beauty Portraits”
Nice descriptive blog post 🙂
Thanks for reading!
we found ur website is much handy for us. when u keep going this good work We’ll visit again to your blog!
Asking questions are in fact fastidious thing if you are not
understanding anything fully, however this piece of writing gives fastidious understanding even.
I love what you guys are up too. This particular clever work and
exposure! Keep up to date the superb works guys I’ve incorporated you
guys to my blogroll.
Right here is the right blog for anyone who hopes to understand this topic.
You know a whole lot its almost hard to argue with you (not that I personally will need toHaHa).
You certainly put a new spin on a subject that has been written about
for ages. Excellent stuff, just wonderful!
Greetings! I’ve been reading your site for a little while now and finally got
the bravery to go on and offer you a shout out from New
Caney Tx! Just wanted to mention continue the fantastic job!
Great post. Thank you for your time in helping me understand on the matter.
Comments are closed.